Tuesday, February 18, 2014

Dream on Bad Boy!

Sid has always had a bulletin board that he claimed was his "dream board."  Here's a picture of the poor thing:

How glycemic index facts are a "dream" is beyond me, but that is definitely not a dream I want to have.  Let's just leave non-delicious food components out of this.  So, as a Valentines Day present, I decided to revamp this dream board a bit.

Here's what you'll need:
-Roll of cork board
-Hot glue gun
-Modgepodge
-Frames
-Acrylic Paint/Paintbrush
-Scissors or boxcutter
-Push pins
-Things Dreams are Made of!
-Maps (optional)
-Letters (optional)

This is obviously pretty subjective and you'll add personal touches.  Anything I didn't have I got at Michaels.

Step One:
Paint the frames


Step Two:
Unroll the cork and hot glue to your frames.  Because I bought rolled up cork, I had to lay some heavy textbooks overnight to flatten it out.  See, you totally will use those college books again.  Totally worth the $500/semester I spent.

 Step Three:
I hot glued ribbon onto the large cork board, and then modgepodged the maps I got onto cork board, with the idea to pin all the places Sid and I have visited together. 


Step Four:
Hang your pieces up.  I got letters to spell out D-R-E-A-M.  You could do whatever, get a little R-E-S-P-E-C-T action, whatever you're into!

And that's pretty much it!  I put this up over the desk in our office space, so it would give us motivation whenever we need a break from work.  Yeah, because I totally work after work hours.  Psh.  On a serious note, I think it's really important to keep track of your personal and professional goals and dreams.  This, is of course the finished product minus the dreams!  But I can guarantee you the glycemic index sheet will not be on here...


Saturday, February 8, 2014

Romantic Reading Nook

Sooo I moved into a new house - Sid's house!  He bought it just so I could make it fabulous with my crafts.  Not really, but it's pretty cool that I don't have a renters crafting/decorating limitations!

One of the bedrooms that we turned into a living/office space has this odd little corner space.  You can see it on the right side of this picture below.  After some contemplation, I decided I wanted to create a reading nook. 

Originally I was just going to get a reading armchair for the corner, and have some library-esque accents.  I literally spent a full week trying to find the perfect armchair, and it is seriously impossible!  Another obstacle is the width of this nook is just about 37 inches, so I had some width limitations.  Finally so fed up, I said I'm just going to make one!

Materials:
-2 Plywood Sheets cut to specifications
-2 Foam pieces cut to specificiations
-Staple gun
-Fabric

So this project was really easy, but pretty expensive.  In comparison to an armchair it was more reasonable, but still not as thrifty as I would have hoped! 

I got the foam pieces first from DJ Liquidators that will cut your foam to size.  I had two pieces at 36x36x4.  The two pieces were $53 total.
 Next I got the fabric from JoAnn's fabrics.  I wanted something with a white fur, or a velvet.  This fabric was on sale for 40% off, so was about $10.19/yard.  Not terribly expensive, and is a bit thicker/more durable.
 The plywood sheets are cut to size at Home Depot, and was only $8 for the two pieces.
 Collecting the materials is the toughest part!  The final step is to staple fabric to the plywood.  Lie the fabric face down on the floor.  Layer the foam, then the plywood.  Wrap the fabric around like a present, and staple.  That's it!
 I moved the two pieces into the nook, and decorated with pillows, a stack of books, and an imitation card catalog on the windowsill from Marshalls.  Side note, I am obsessed with card catalogs but they're so pricey and rare.  So if anyone is a card catalog hoarder, please let me know!!


Monday, January 27, 2014

Under Lock and Key


I'm back baby!  It's been a couple of crazy busy weeks, and my favorite crafting hobby pastime was viciously shoved to the side.  I'll share some exciting annoucements soon, but most importantly I am SO EXCITED to share this super easy DIY!

When I met Sid almost three years ago, one of our first "dates" was going to IKEA to get him some furniture.  He's always said he wants a table for his keys by the house entry, which inspired this craft.  I remember thinking how crazy that was, to buy a table just for your keys!?  And he also wanted a table for his clock.  How funny would that be if you walked into his place and there's all these furniture pieces with just one item on them.  He's so lucky he has me to design some sense into him.  And thus, the key rack made out of keys!

I was originally going to give this to Sid for Valentine's Day, and put some cliche cute little note in there about "key to my heart", blah blah, but this is literally sooo easy and took me no time at all, and I was too hyped up about it that I couldn't keep it a secret for any longer.  And the best part is this was totally free, and I had all the materials already at home.

Materials:
1x2 piece of wood, or whatever you have lying around the house
Paint for wood (optional) - I used some left over Clark and Kensington from the Bar Stool tutorial
Paint brush (optional)
Screws
Keys + a couple extras
Pliers
Hand Strength!
Screwdriver
Sandpaper

Step One:
Sand, and if you choose to, paint your 1x2, or whatever scrap you've decided to use.  I chose to paint this black with one coat, so you can still see the wood grain.  At this moment I personally am not the biggest fan of lighter wood.  Since I go through phases quicker than an adolescent teen, I'm sure I'll change my mind soon.


Step Two:
Bend your keys!  So, this takes quite a bit of hand strength, and even with my insurmountable strength, my hands felt numb after awhile.  To bend, take the small end of the key with the pliers.  I used an industrial type table to hold the key flat, and slowly bent with my pliers.  I broke two keys during this process, because I'm so strong.  So have a few on hand!


Step Three:
Line up your keys however you want on your plank, and, screw in to the board.  I have an electric screwdriver that I used.  You could also drill a hole in first, depending on the type/width of wood that you used.


Step Four:
Hang on your wall and add keys.  I am in LOVE with this piece.  I'm so happy every time I see it, and it was so easy and completely made of materials I already had.  So thrifty!


Monday, December 16, 2013

The Ugly Christmas Sweater

Well, it's that time of the year again - Ugly Christmas Sweaters!  Am I the only one that thinks some of those sweaters are actually really cute?  Maybe I just have the taste of a 70 year old woman.  Which might be completely true because my Grandma buys me clothes occasionally as gifts for the holidays and I usually really like what she buys.  Gma just got good taste!

I don't own a Christmas sweater anymore, so I figured I could make one.  I got this sweater from The Limited a year ago, and I love it over a cami.  Sadly, my dryer snagged it, pulling it out of shape, and it became unrepairable.  At least from the Renee skills point of view.  I just donated a few bags of clothes of mine, and this sweater would unfortunately have to make it into the trash if it didn't become my new Christmas sweater!  (although after Christmas it will most likely become a fatality...can't re-write destiny).

Materials:
Safety Pins
Christmas bows - as many or little as you want!
Sweater


Before we start, I'm warning you to expect throbbing fingers by the end!

Instructions:
 Decide where you want to pin the bows.  Using the safety pin, I strung it through the staple on the bottom of the bow.  Pin to the sweater in whatever pattern/design/cluster you want.


Mine is supposed to be a bow in the middle.  I personally think it looks like one, but Sid didn't think so.  But, he doesn't celebrate Christmas either, so I'm going to pretend he doesn't know what he's talking about.


This is, sadly, the best picture I have of me attending this year's Jingle Fells which is an Ugly Christmas Sweater bar crawl in Fells Point Baltimore:  Happy Holidays!


Monday, December 9, 2013

A Bright Idea?

As promised, here's Part 2/2 of the lamp shelf thing.  Last week I modgepodged some scrapbook paper on the lamp's shelves.  This week I'm sharing my "lampshade."  Can you sense my lack of enthusiasm? 

I've had this awesome idea in my head for a long time to create a lampshade out of buttons.  So I have literally been saving buttons for the past three years, you know those extras that come with new clothes as a spare?  I must be really thrifty with clothes shopping because when I went to my bowl of button collection, I literally have like 6 buttons saved up.  You can clearly create a fabulous lampshade with 6 buttons...

Alas, plan A will have to wait.  I did try to buy buttons in bulk at my local craft store but I found no buttons!  My home collection of buttons was more extensive.  How impressive.  I suppose you have to go to a fabric store for things like that.  Or maybe I missed the aisle that said "buttons."  Regardless, I was forced to come up with a plan B.  Luckily not that serious plan B...I jest.  And, as you can see in the picture below, this lampshade that has a hole in it was driving me crazy.  No lampshade is better than this lampshade.  Oh and here's a cat in a lampshade.  See, I already found a much better use for it!
 
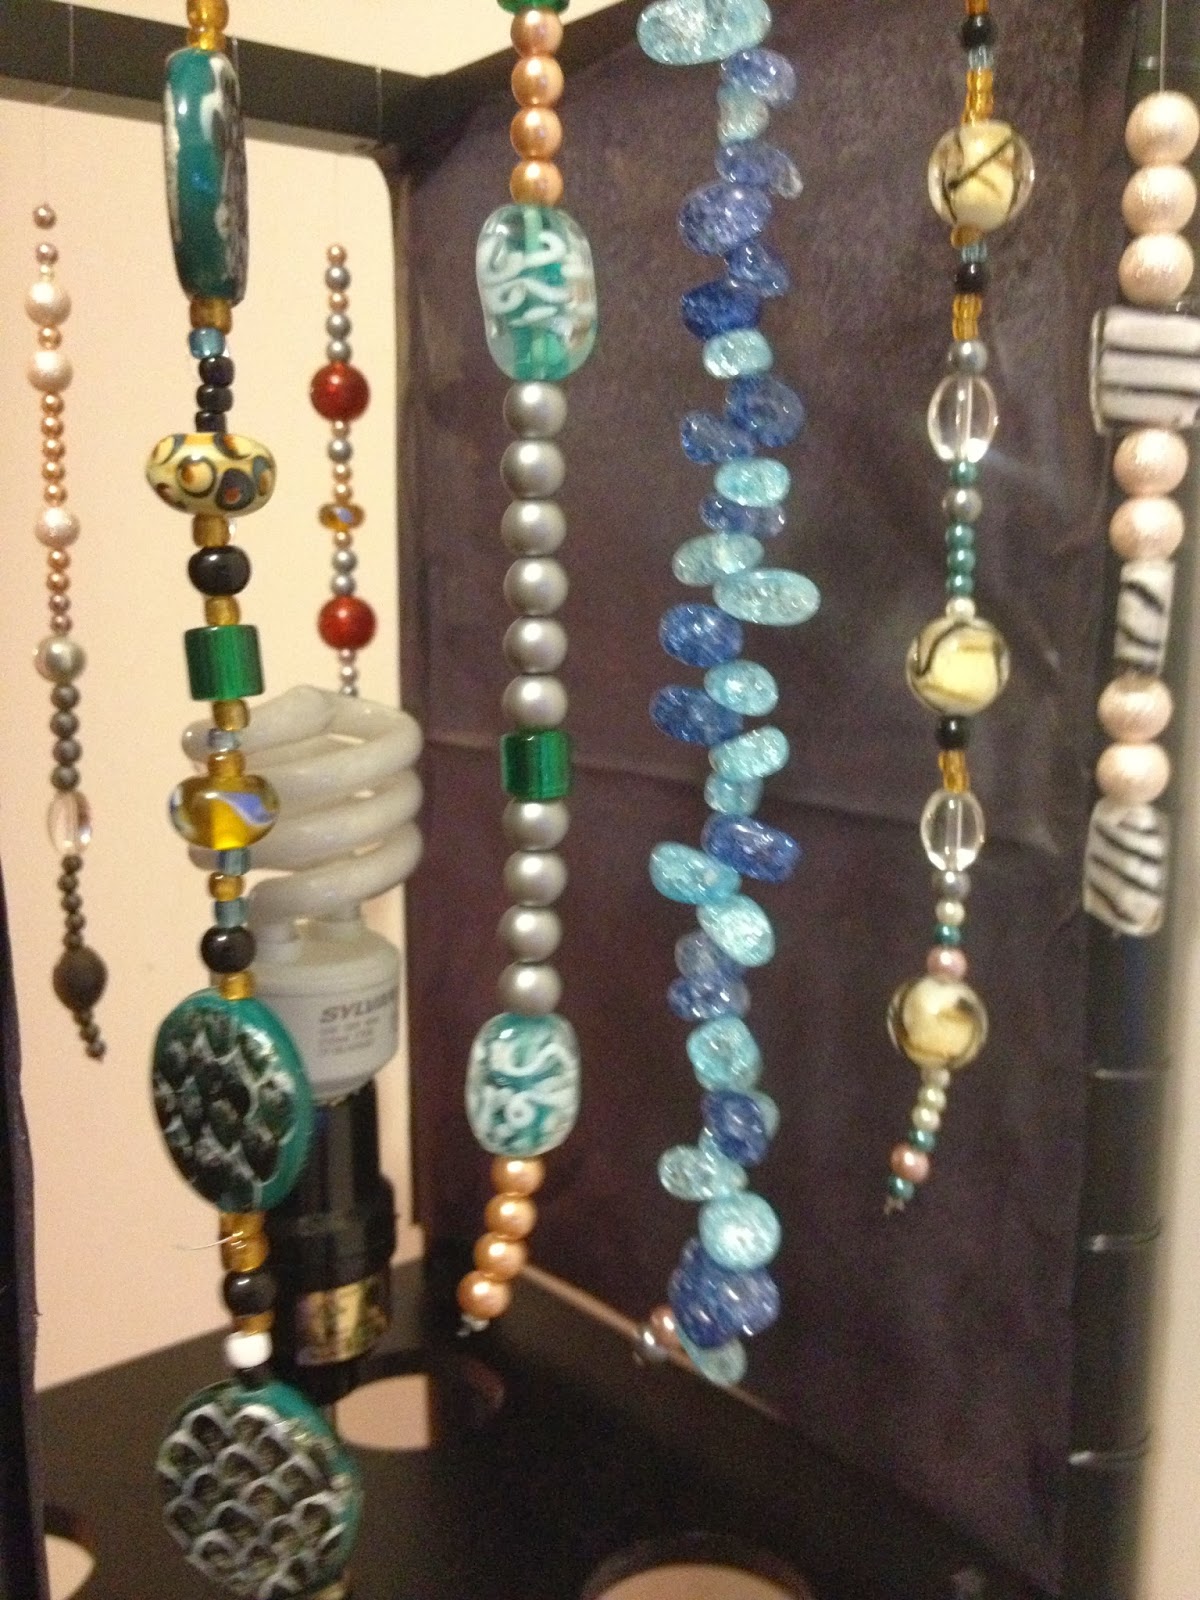
Recently I've been making most of my own jewelry (stay with me, this has a point, I swear).  I took a jewelry class 2 years ago and I have never felt like such a shining star.  I was the golden child of jewelry making.  This was, of course, a basic intro to jewelry making class so it's basically stringing beads together but I personally believe I have a knack for it.

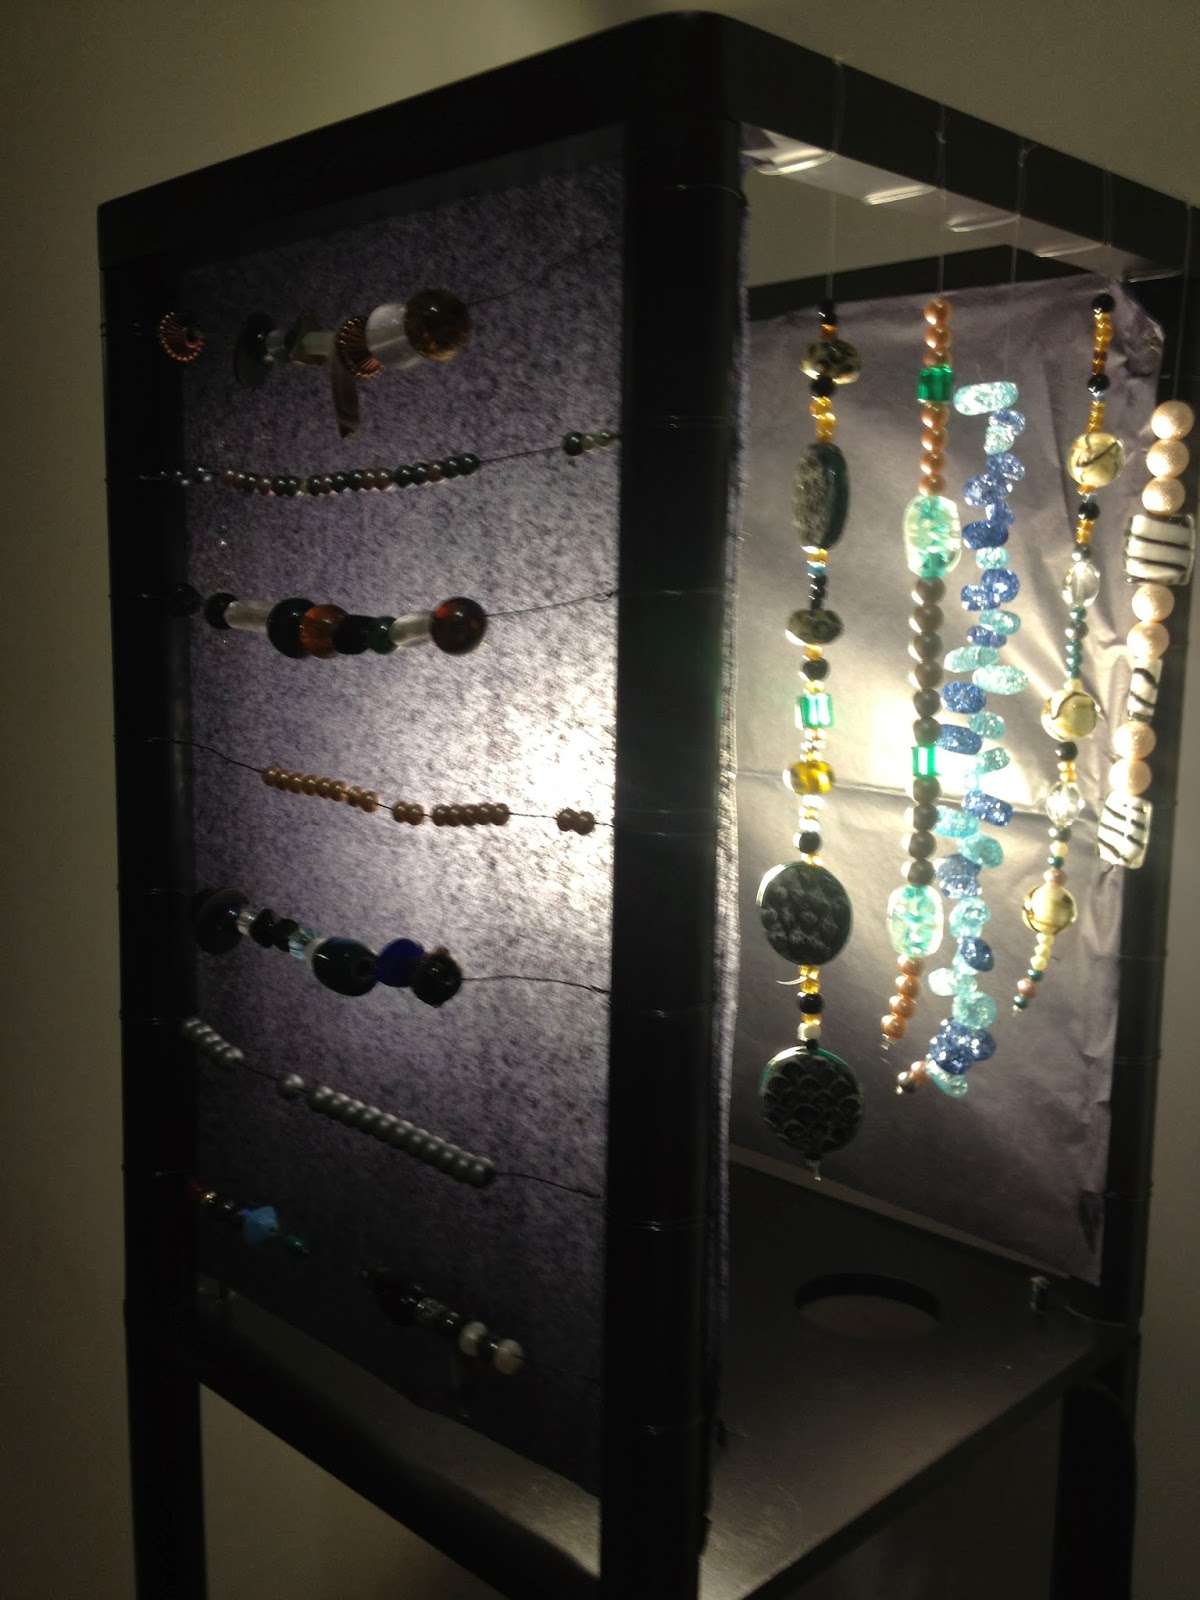
So I pulled out my beading box and decided if I couldn't do buttons, why not give beads a shot?

This was a terrible idea.  Okay, maybe not terrible.  I'm totally into putting forth my best effort into these craft projects.  But, most of the time I'm really happy and feel accomplished.  Time well spent, pat on the back for me.  This ended with one of those not-so-good feelings.  Almost like a "well, I kind of like it, I can grow and force myself to like it.."

Let's get this over with, and tell me what you think please!

Materials:
Wire cutters, pliers, beads, jewelry wire, fishing line, tissue paper, modge podge

Step One:
Cut wire and wrap around one end of lamp.  String random beads, and wrap wire around the other end to close.  Repeat for however many rows you want!

Step Two:
Cut tissue paper to size.  Modge podge onto the inside of the lamp for the "shade."

Step Three:
String beads onto fishing wire at various lengths.  Tie around top of lamp frame.

Although this is easy, it takes FOREVER.  And I'm unhappy because I think I need to use way more beads/wire lines/strings to get the look that I want.  But I used up a ton of beads and my fingers hurt from wire wrapping, and the total time was probably 4 hours.  For something that's so small scale, and probably not a permanent piece in my house, I just felt like this was wasting time.  I like the concept, and hope to use it in the future on a piece that I love and want to keep around!  I suppose all projects won't go as planned.  But that's part of the learning and blogging process of discovering life, right??


Tuesday, December 3, 2013

Scrappy

This is Part 1/2.  The holiday season is upon us, didn't it seem to get here so quickly?  Every year I tell myself "Okay, this year I'm going to get all my shopping and holiday errands done early so I don't have the scramble the week before Christmas."  And then every year a few days before Christmas I say "Oh crap, I didn't get any shopping done..."  I'm sure this sounds familiar to most of you.  Isn't it so tough to come up with the perfect gift for someone?  I promise I always have the best of intentions.  Sid's birthday is Christmas Eve too.  How awful is that?  Even if I nail the birthday gift then I have to wonder woman it and get a second awesome thoughtful gift the next day??  It's a good thing I'm a super hero.

So this atrocity in my house is a plastic, yes plastic gross, (the italics are supposed to highlight my discern), floor lamp/shelf.  Had I realized this was plastic I would have thrown it out but I thought it was a cheap wood.  Because that's obviously much classier.  So this guy is definitely a temporary item, but I figured why not snazz it up inexpensively a bit while it lasts.

Before:


Materials:
ModgePodge, Foam brush, Scrapbook Paper, Scissors/Box Cutter, Acrylic Sealer 


Step One:
Cut the Scrapbook Paper to size for the shelves.  The corners were a bit tricky, and thus I used a combo of my box cutter as well as scissors.

Step Two:
Using your foam brush, brush on a coat of ModgePodge to the shelf, and press your scrapbook paper on top.  Let dry.

Step Three:
Spray with your acrylic sealer.  Do this outside!  I'm super lazy, and thought I could do this in my sunroom with the windows open.  Terrible idea.  It smells toxic and I probably killed my brain cells.  Oops.  Also, I didn't use one but a high shine/gloss acrylic sealer probably would have looked better.

And that's it!  I love that super cheap scrapbook paper can easily snazz this bad boy up.  And you can virtually do this on anything - shelves, dresser linings, etc.  A fancier, more expensive option would be using wallpaper.  But, for this plastic guy, I think scrapbook paper is perfect.  Stay tuned for next week's Part 2/2:  The Lampshade.  In my mind it's going to be awesome.


Tuesday, November 26, 2013

Bye Bye Birdie

There's this amazing antique shop in Fells Point Baltimore called The Antique Man.  It's only open for a few hours on Saturdays and Sundays, but this place is a fascinating treasure.  It's more like a museum of oddities than a true antique shop.  I mean, they've even got a two-headed mummy in there... how cool is that??

Anyways, about a year and a half ago, when I first moved to Baltimore, I brought my darling cat Willow with me.  Willow seemed lonely without a friend, but I wasn't sure I was ready for the commitment of another cat.  In retrospect, how ridiculous was that thought process?!  Now Willow has sister and partner and crime Ivy to carry out their adorableness.   I could probably start a blog to just talk about the cats and the crazy things they do.  And lots of people would read it because they're as cat crazy as I am.  Ah, that's the dream.

But back on topic.  So, as I was pondering over the dilemma of Willow's loneliness, I was exploring the vast treasures of The Antique Man and I came across this amazing birdcage.

Now initially I was thinking "Perfect - I can get Willow a bird to keep her company when I'm not home!"  Although a foolproof plan, I ended up getting Ivy shortly after and loved the birdcage and its antique-eyness too much to put an actual bird in it.   

By itself, it is a beautiful accent decorative piece.  Dress it up with some white lights around the holidays and it's an elegant semi-festive decoration.